
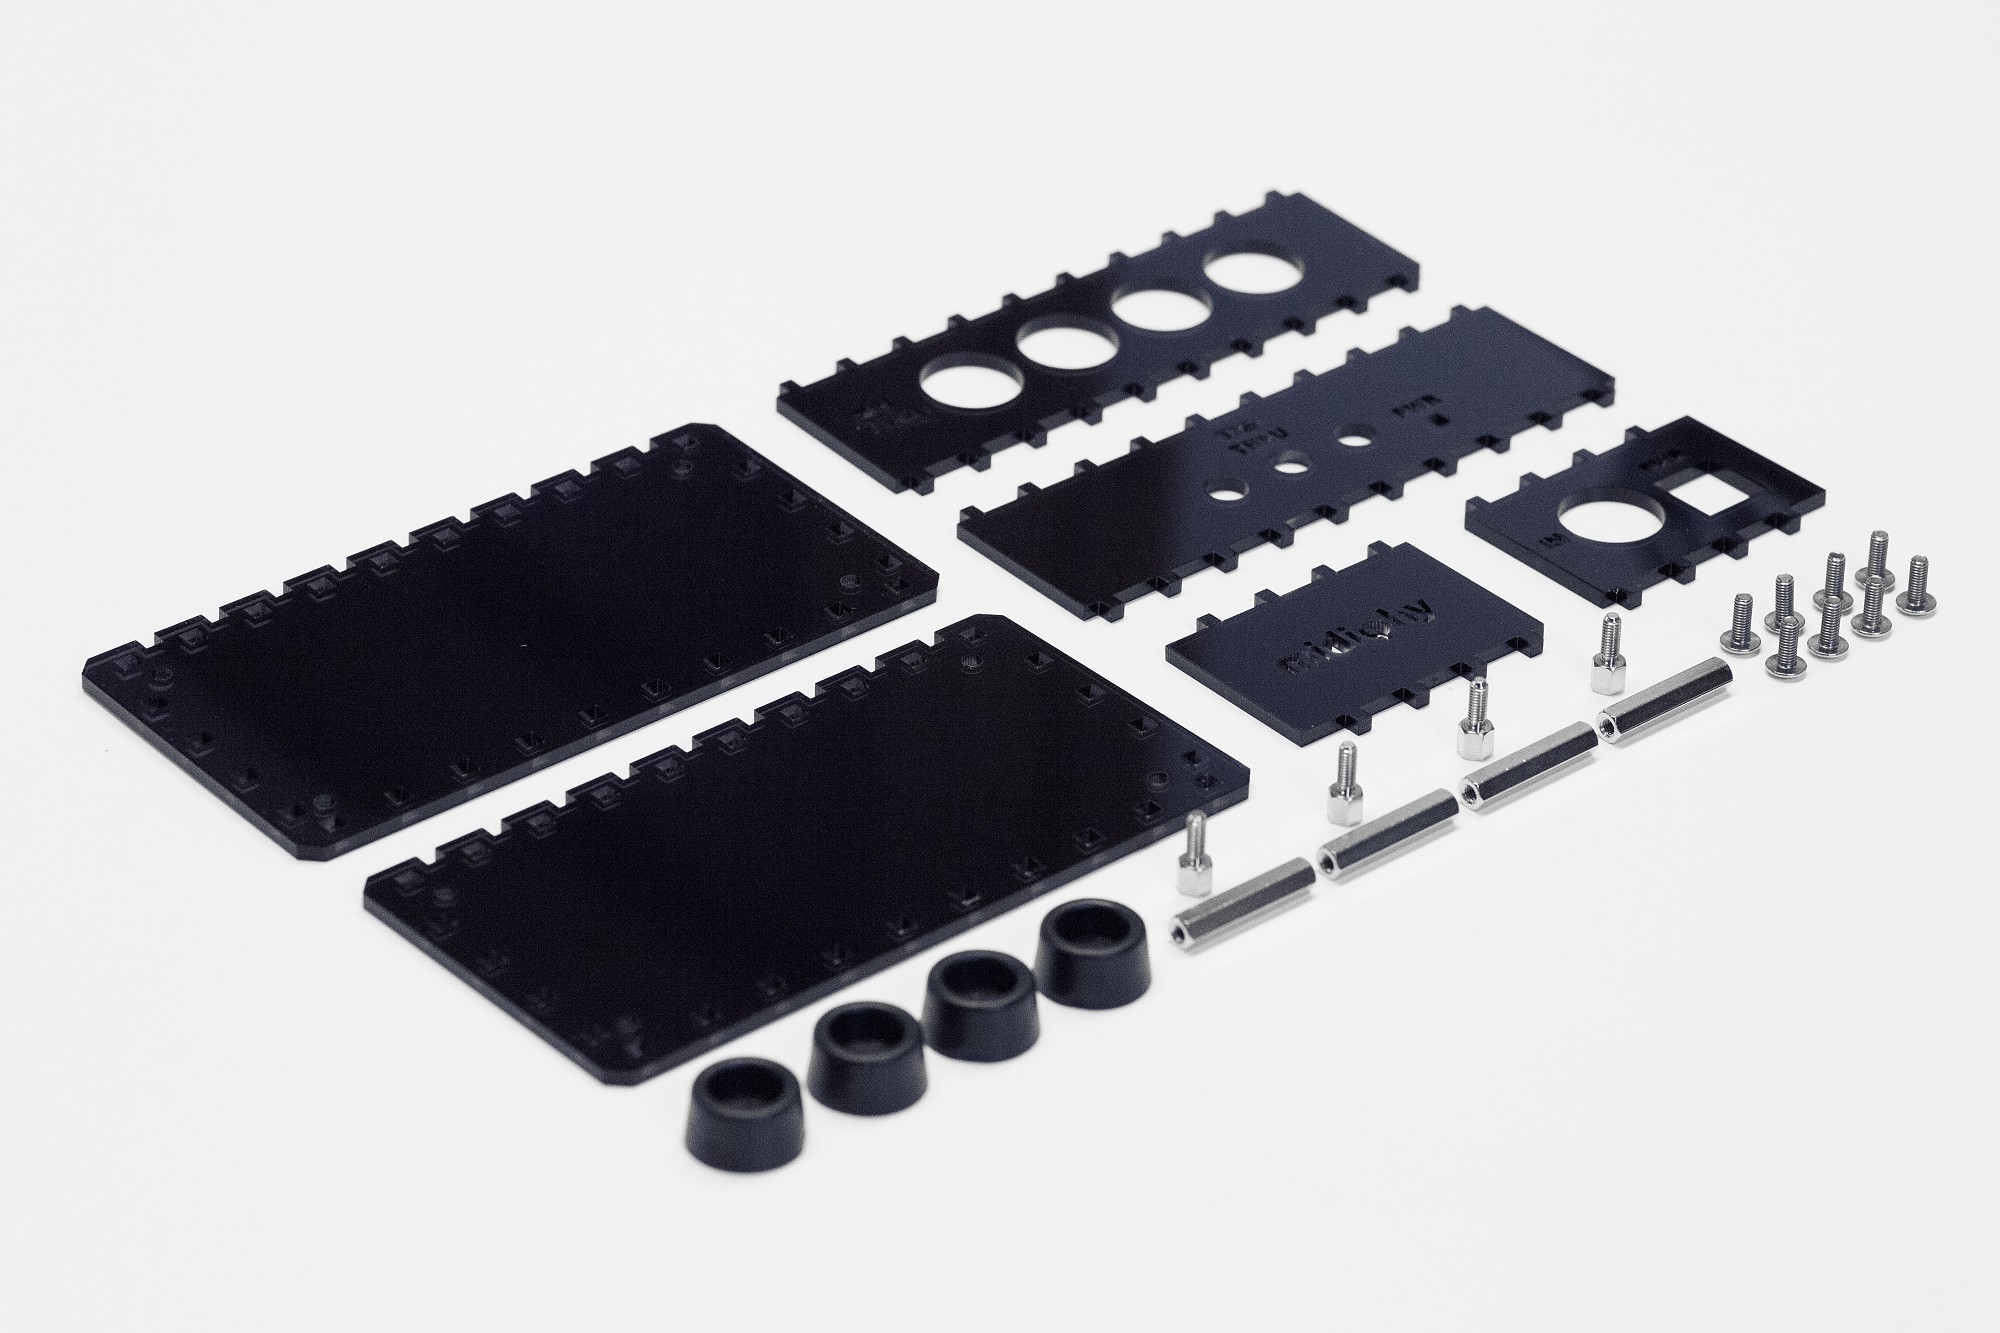
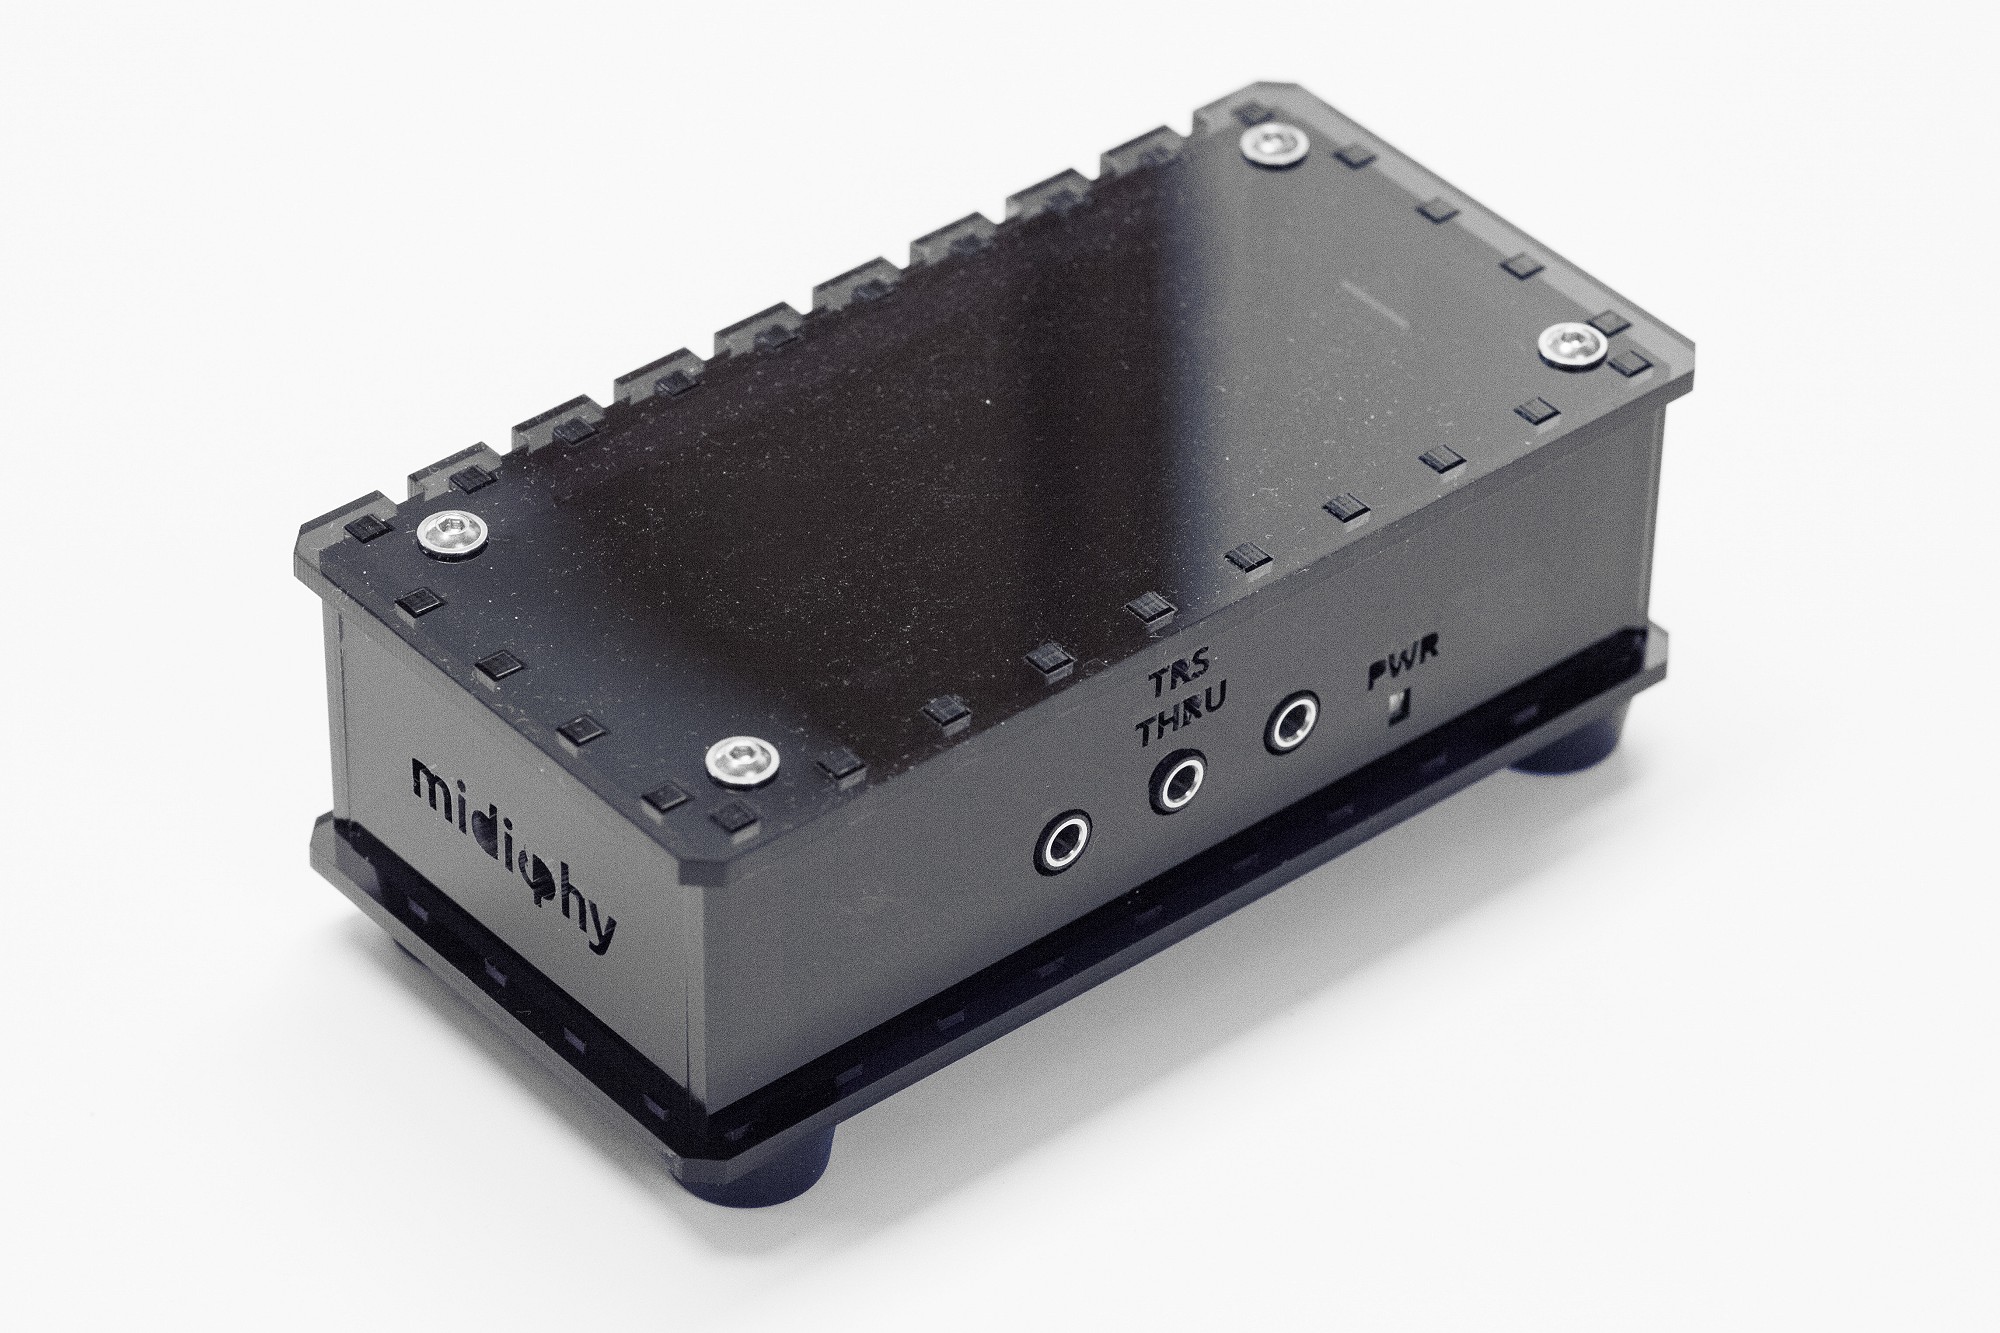
MULTI MIDI THRU acrylic case (black transparent)
Manufacturer: midiphy
Product ID: C-UTL-01
Acrylic MULTI MIDI THRU with metal hardware and rubber case feet for stable table-top usage. This new version comes with two sidewalls for 3x or 4x TRS MIDI, supporting both new and old PCB revisions.
Weight: 75 grams
in stock
29.99 €
incl. VAT, excl. shipping
Recommended products
These additional products may be of interest,
if you are browsing this product. If you are buying a midiphy essential kit, everything necessary
is included. If you are buying basic products, please check if any of these items may be helpful for your build.
Assembly Photo Tutorial
Step 1
Remove the protective film from the acrylic elements.
Remove the protective film from the acrylic elements.
Step 2
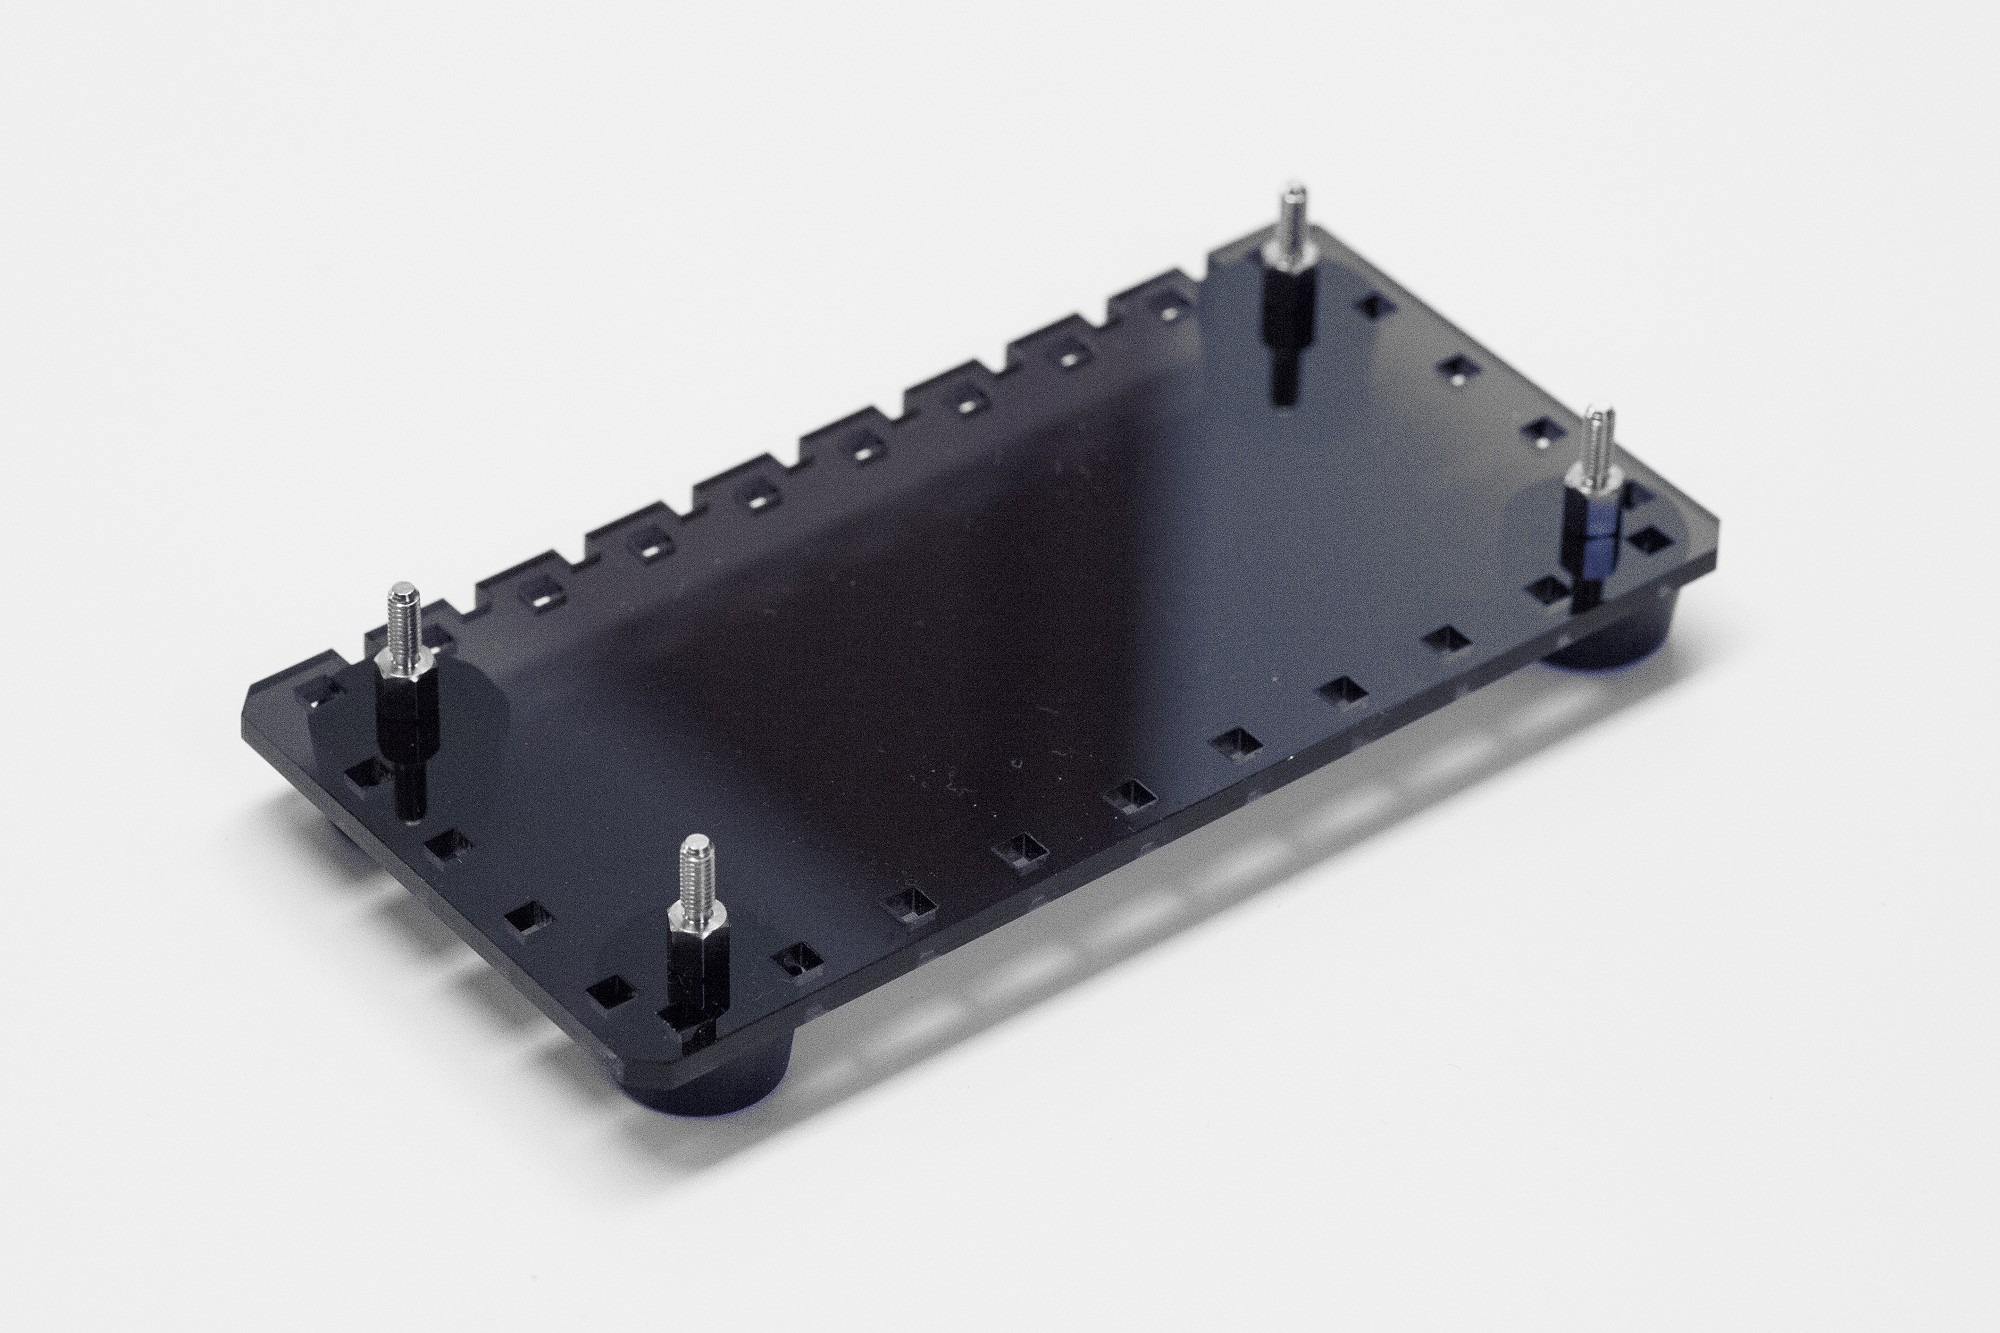
Insert 8mm M3 screws through the case feet, fasten on the inside of the case with 5mm hex standoffs. Important: observe orientation of the bottom plate as it will fit in only one direction :)
Insert 8mm M3 screws through the case feet, fasten on the inside of the case with 5mm hex standoffs. Important: observe orientation of the bottom plate as it will fit in only one direction :)
Step 3
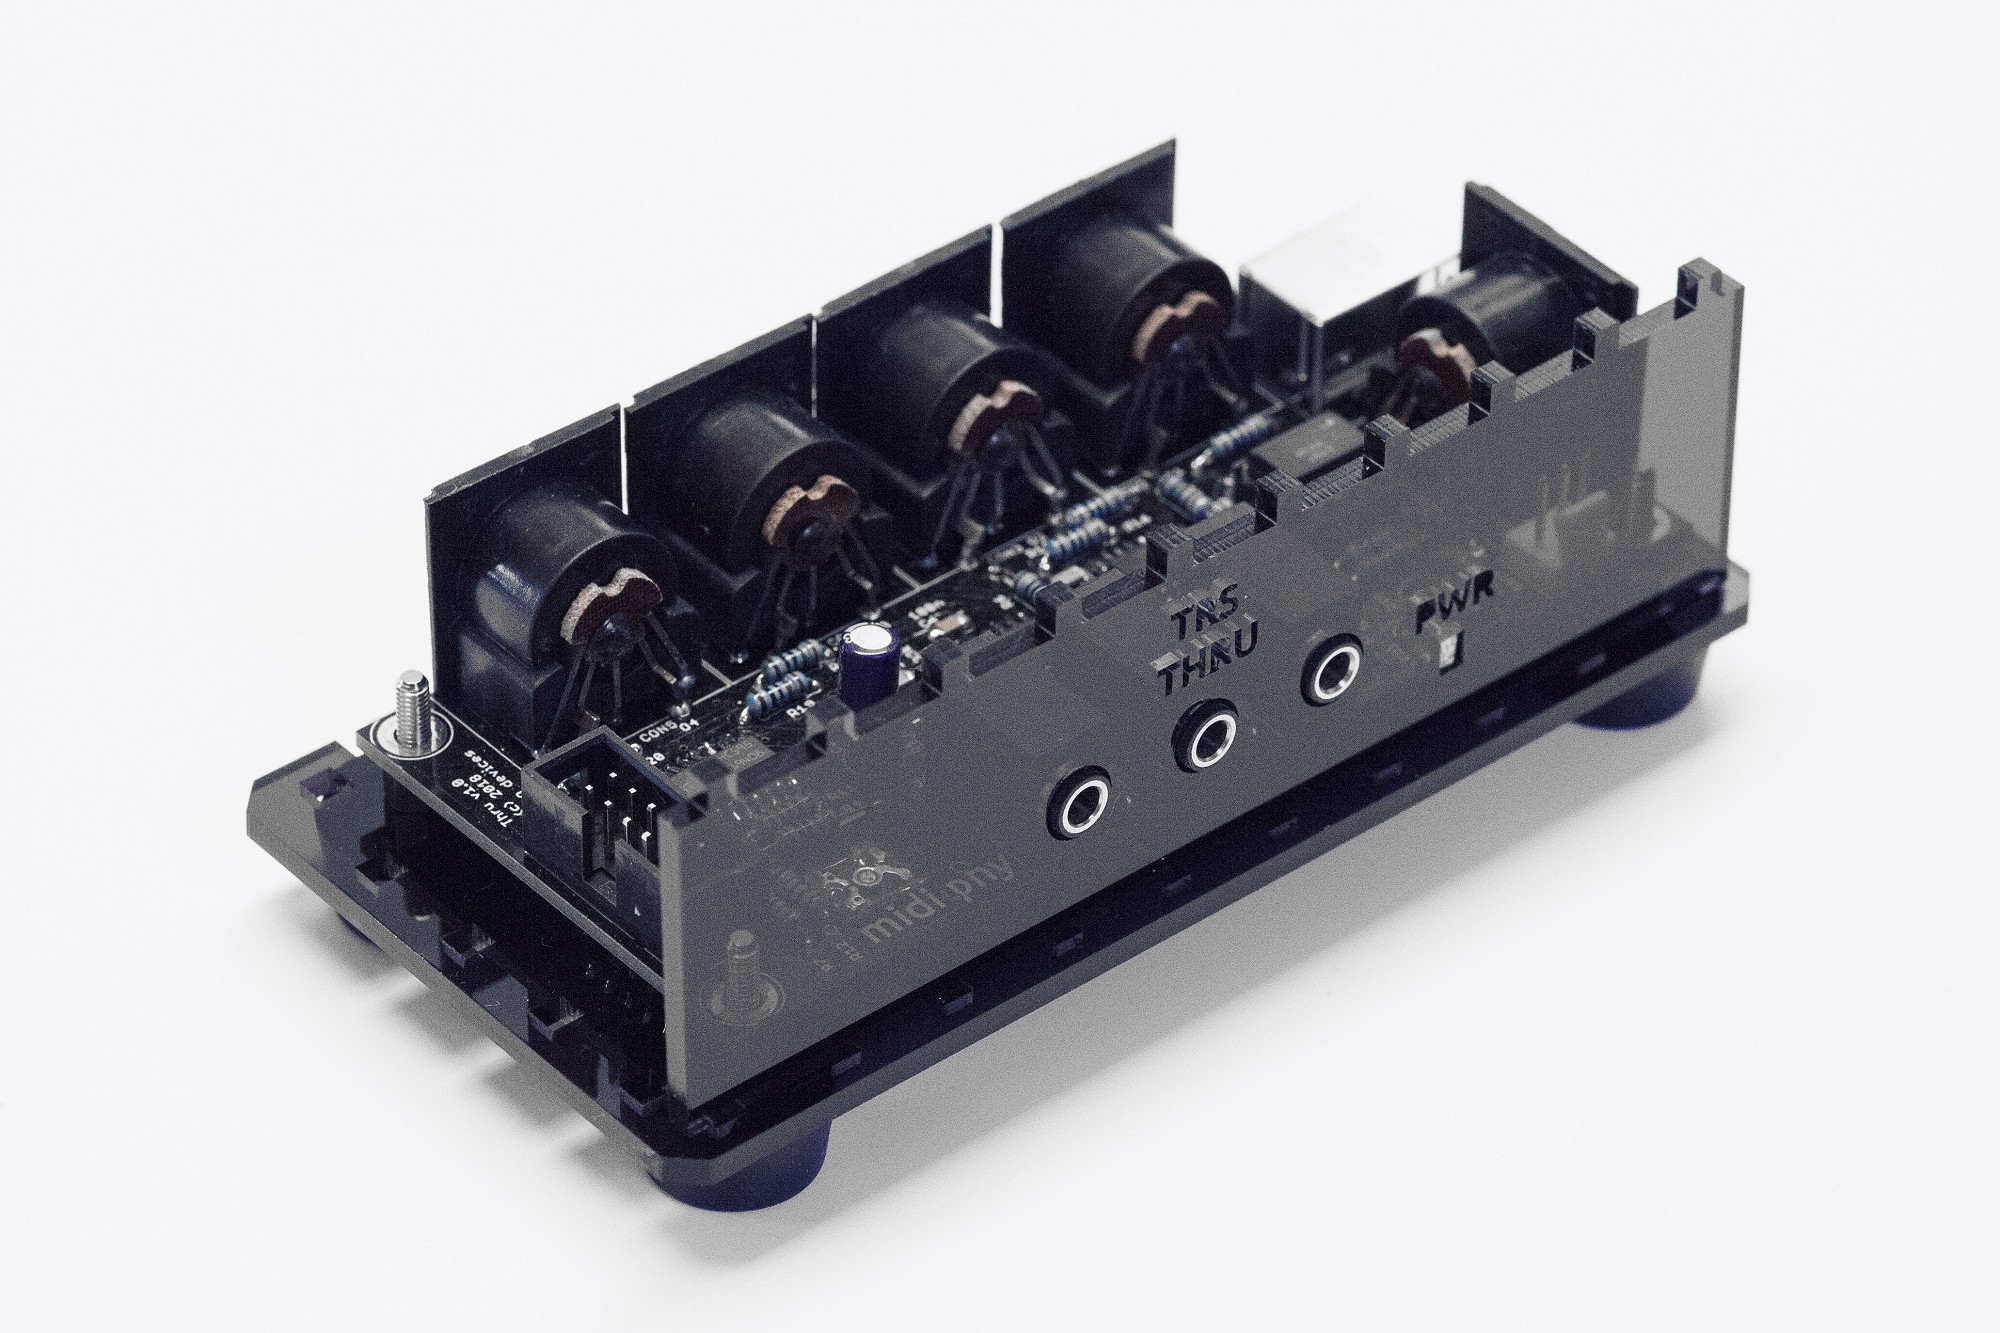
Add PCB on top, click in front side panel, potentially bending/adjusting the power indicator LED so that it fits in the panel cutout.
Add PCB on top, click in front side panel, potentially bending/adjusting the power indicator LED so that it fits in the panel cutout.
Step 4
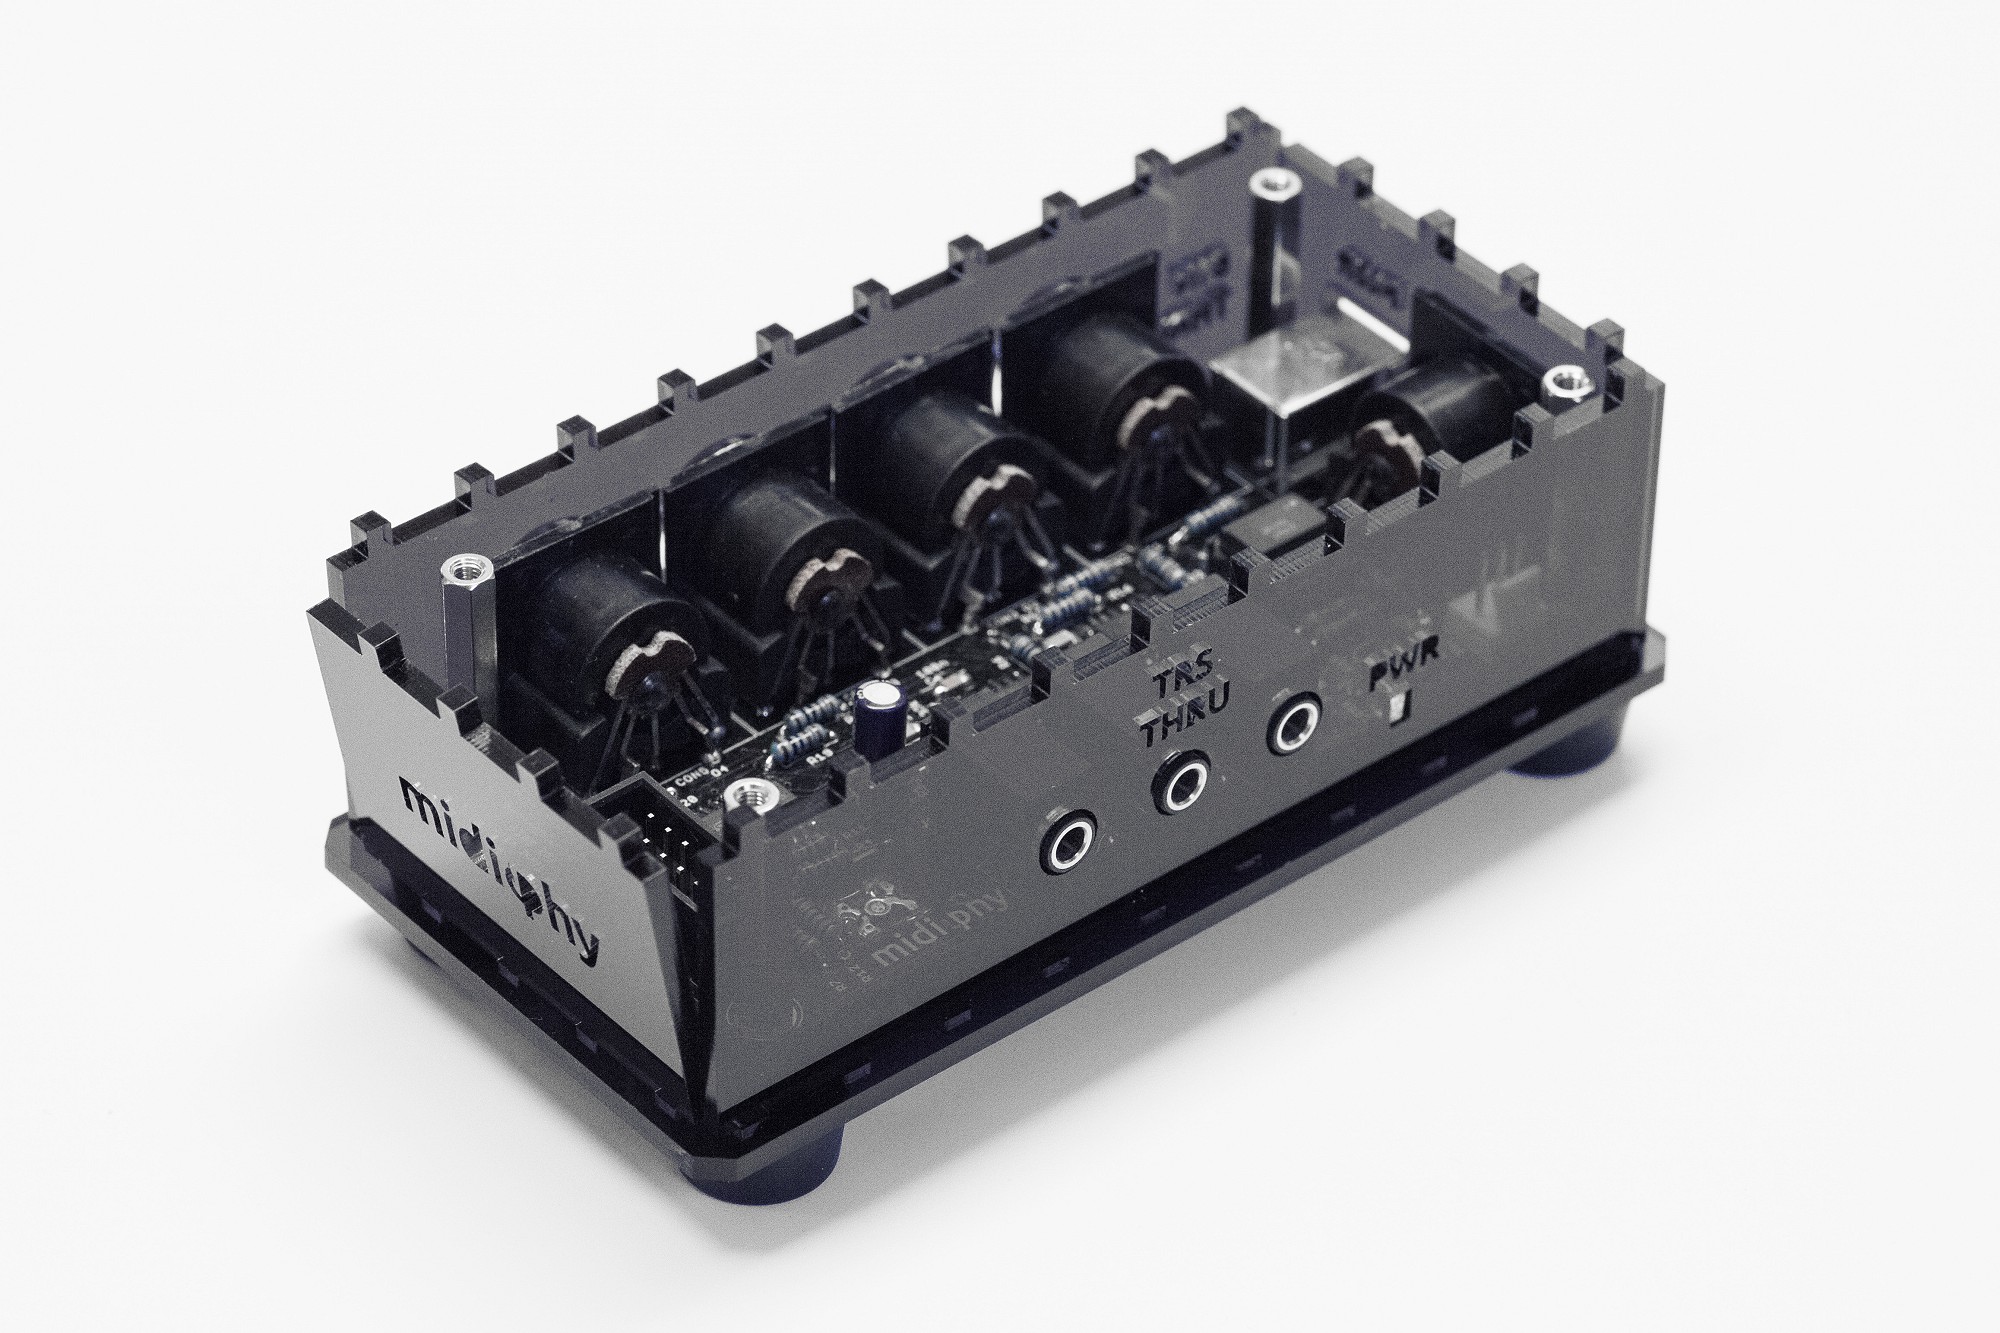
Fasten with 25mm hex spacers, click in the other side panels.
Fasten with 25mm hex spacers, click in the other side panels.
Step 5
Add case top, secure with the remaining M3 screws - done! :)
Add case top, secure with the remaining M3 screws - done! :)